This series of walkthroughs aims to help out complete beginners with finishing the Pre Security Path on the TryHackMe (thm)1 website.
It is based on the learning content provided in the How websites work room.
Task 1 - How websites work?
A short and simple introduction about how websites work is presented here. Note the difference between client and server side.
Question 1: What term best describes the side your browser renders a website?
Client side
Task 2 - HTML
Get the basic idea about the building blocks of HTML. Once finished, check out the HTML playground provided here by deploying the static website. Play around a bit with it.
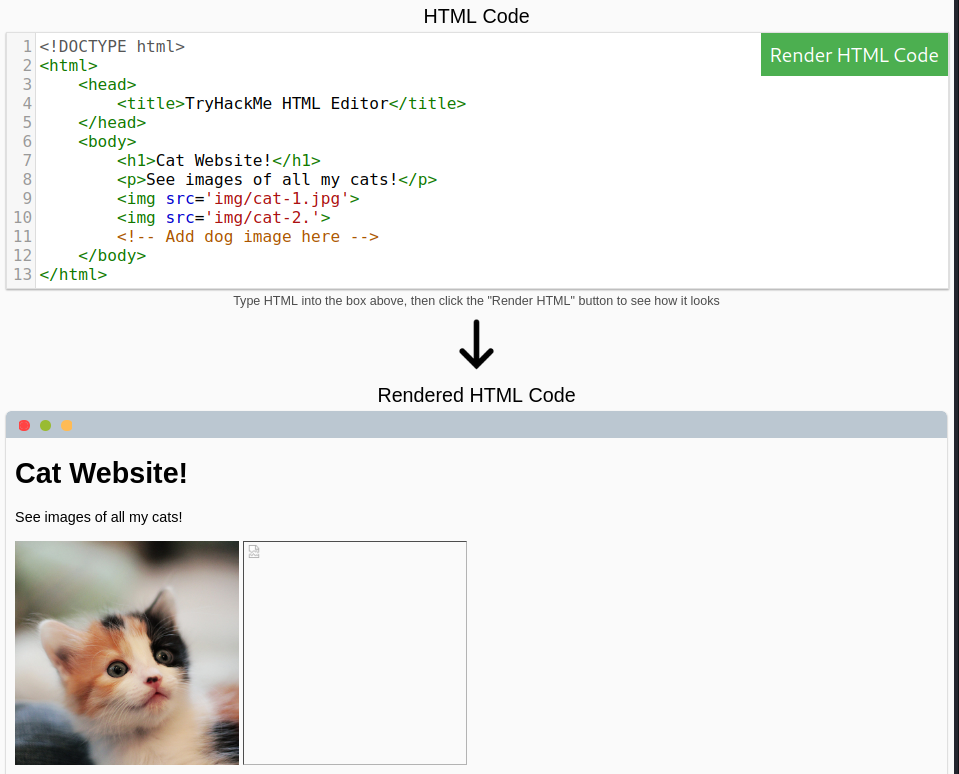
Fix the missing jpg extension to display the second cat.
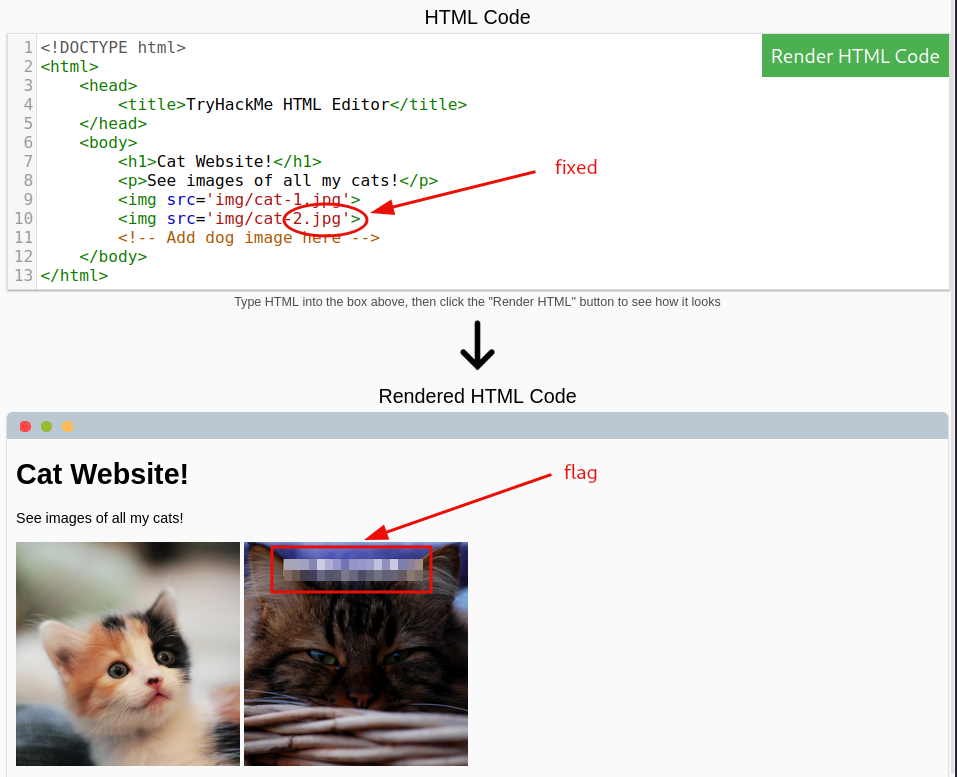
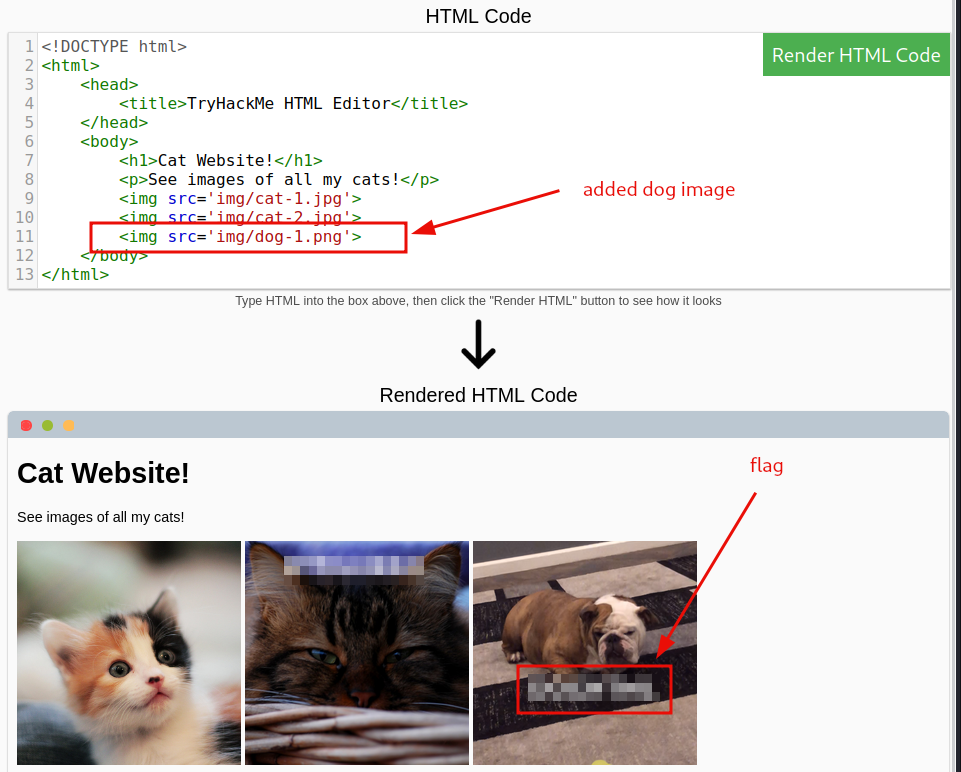
Add the dog image to the site.
Question 1: Let’s play with some HTML! On the right-hand side, you should see a box that renders HTML - If you enter some HTML into the box and click the green “Render HTML Code” button, it will render your HTML on the page; you should see an image of some cats.
No answer needed
Question 2: One of the images on the cat website is broken - fix it, and the image will reveal the hidden text answer!
flag
Question 3: Add a dog image to the page by adding another img tag () on line 11. The dog image location is img/dog-1.png. What is the text in the dog image?
flag
Task 3 - JavaScript
Read the introduction about JavaScript and play around with the deployed site to get the flag.
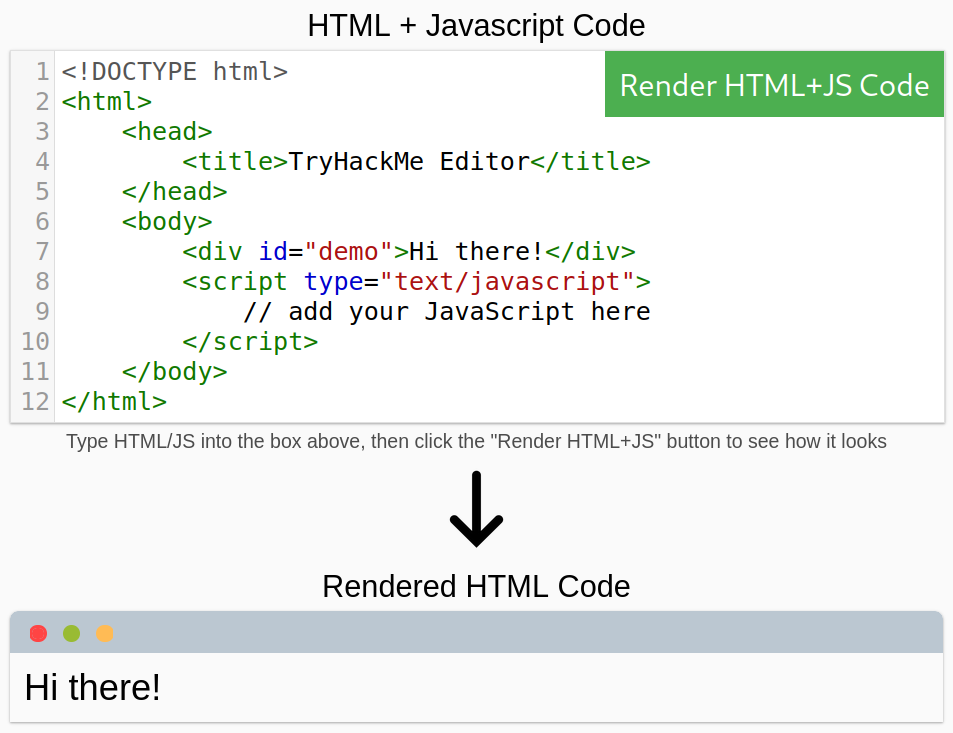
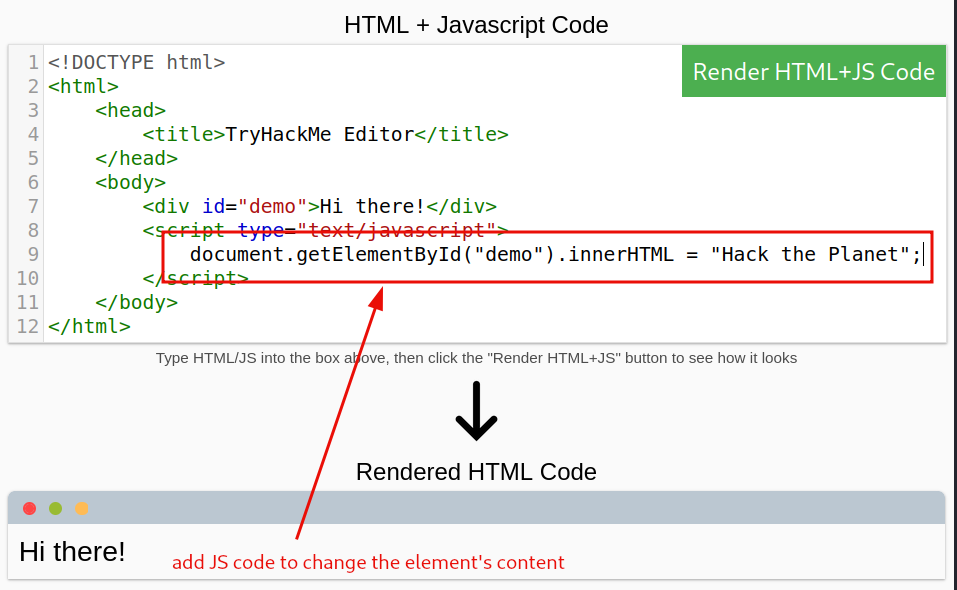
Adding the JavaScript code will land us the flag.
document.getElementById("demo").innerHTML = "Hack the Planet";

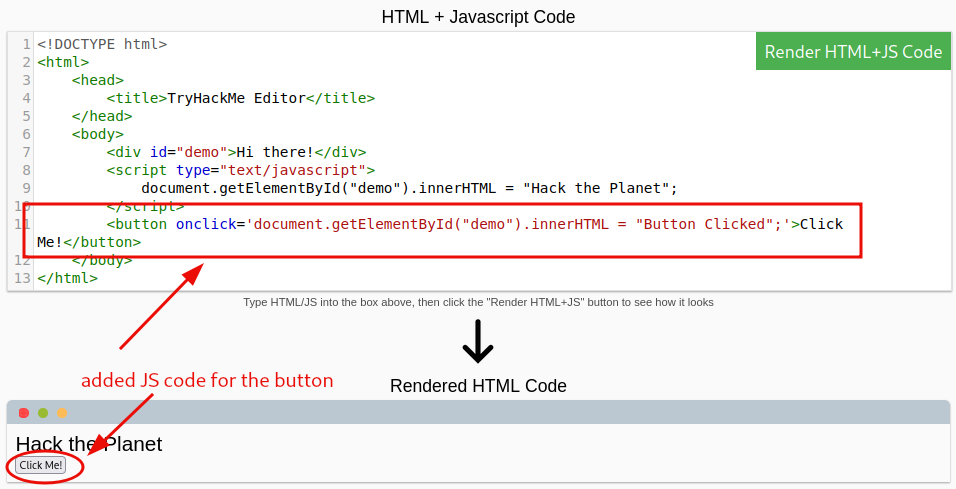
The new button is added and configured to change after being clicked on. Notice, that the JS code for the button was placed after the script element’s closing tag.
<button onclick='document.getElementById("demo").innerHTML = "Button Clicked";'>Click Me!</button>
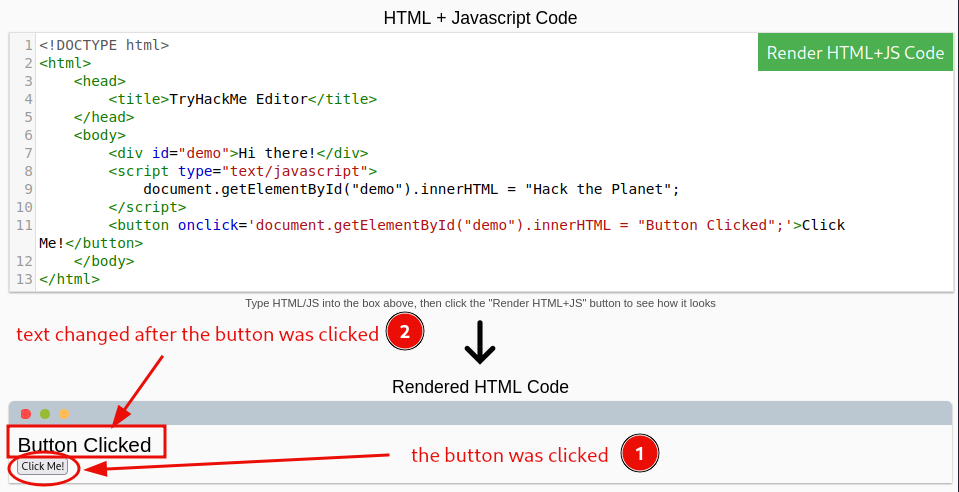
Question 1: Click the “View Site” button on this task. On the right-hand side, add JavaScript that changes the demo element’s content to “Hack the Planet”
flag
Question 2: Add the button HTML from this task that changes the element’s text to “Button Clicked” on the editor on the right, update the code by clicking the “Render HTML+JS Code” button and then click the button.
No answer needed
Task 4 - Sensitive Data Exposure
Inform yourself about sensitive data exposure, and check the deployed website for exposed login credentials.
Try to log in without any username or password.
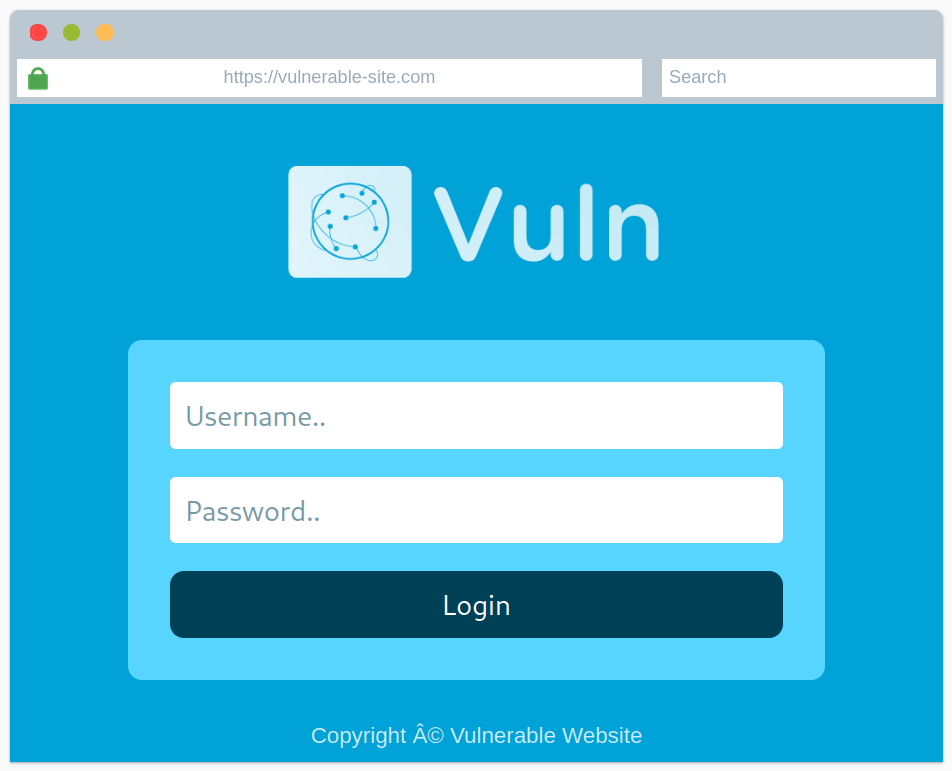
We were provided with a nice URL that points to the site’s source code. Usually pressing CTRL+U in the browser would do the same, but doing so here, would present us with the source code belonging to the current room, and not the deployed site.
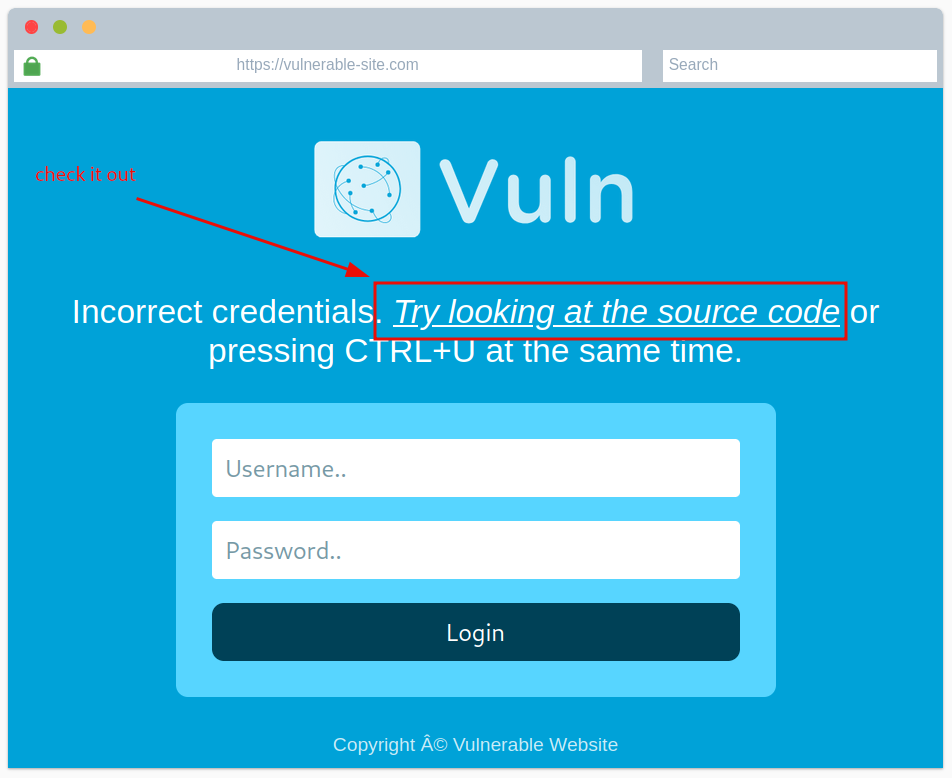
Get the exposed login credentials.
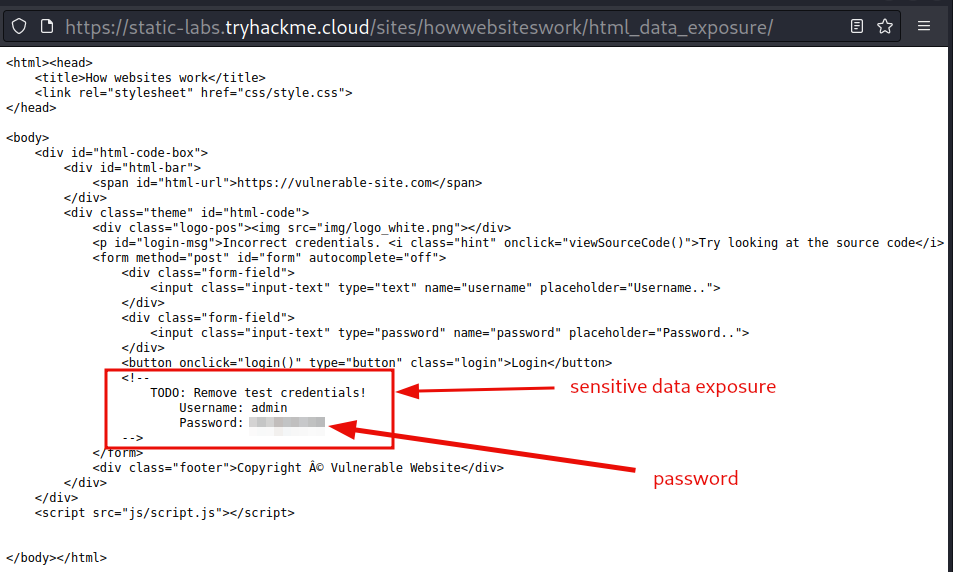
Question 1: View the website on this task. What is the password hidden in the source code?
password
Task 5 - HTML Injection
Read about HTML Injection and the ways avoid it. As mentioned in the description, Input sanitization is very important in keeping a website secure…. To showcase how dangerous such thing can be if not handled properly, deploy the attached site, and try to inject it with a malicious link.
A quick search on the web for something like html codes links should provide us with the necessary HTML code.
<a href="url">link text</a>
| code syntax | description |
|---|---|
| <a> tag | defines a hyperlink |
| href attribute | indicates the link’s destination |
| [link text] | it is the part that will be visible to the reader |
Injecting it to the website, will give us the flag.
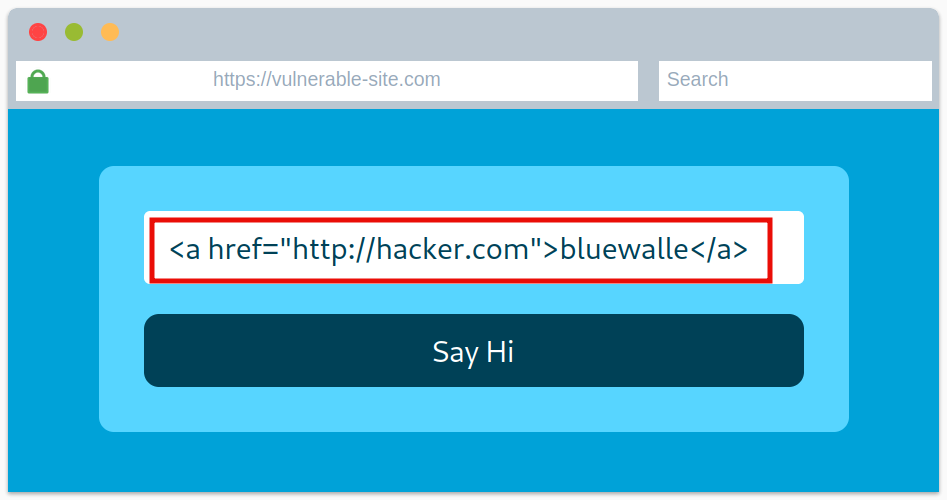
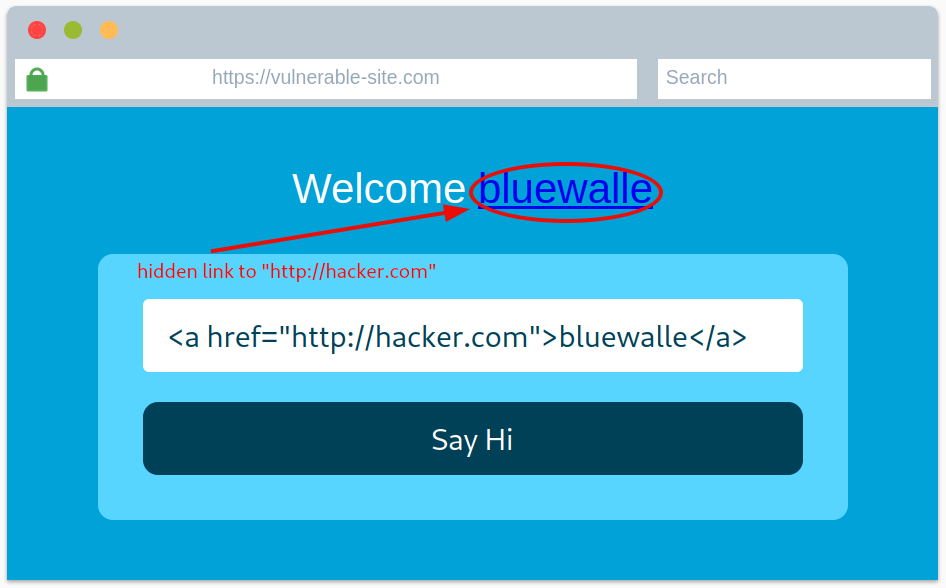

Question 1: View the website on this task and inject HTML so that a malicious link to http://hacker.com is shown.
flag
Make sure to play around and try different things before proceeding to the next room.
thm - shorthand for TryHackMe from now on ↩︎